Making changes to a WordPress website can feel straightforward until something goes wrong. A plugin update might affect the layout, a new theme setting could break the mobile view, or a small code adjustment might stop an important feature from working.
The problem is not necessarily the change itself. It is making that change directly on a website that visitors are already using.
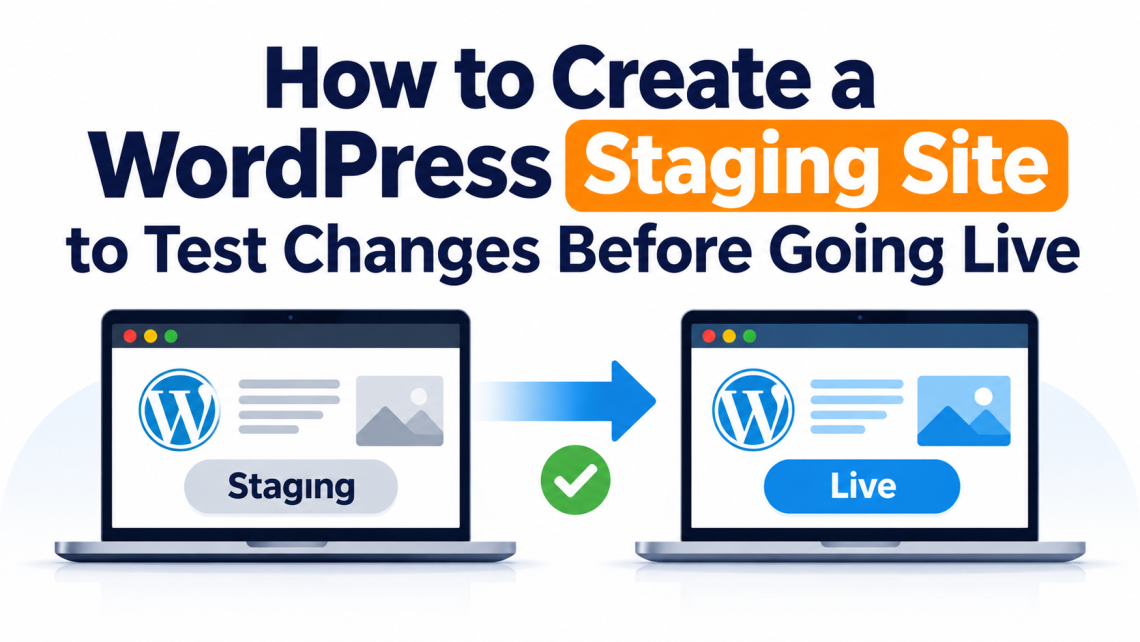
A staging site gives you somewhere to check updates and experiment before applying them to your live website. You can review the results, identify problems, and make corrections without putting your visitors’ experience at risk.
In this guide, you’ll learn how to create a WordPress staging site using your hosting account or a plugin, what to check before making changes, and how to move approved updates to your live website.
What Is a WordPress Staging Site?
A WordPress staging site is a separate copy of your website used for testing. It generally includes the same theme, plugins, settings, pages, posts, and media files as the original website.
Think of it as a working copy. You can update a plugin, try a different theme, adjust a page layout, or test a custom feature without immediately affecting the website your visitors see.
For example, imagine you want to replace your current page builder with another one. Making that change directly on your live website could affect existing pages. On a staging copy, you can install the new builder, check important pages, and decide whether the result is acceptable before making a similar change on your actual website.
A staging site is not automatically a backup, though. It is a separate environment for testing. You should still keep a recent backup of your live website before making important changes.
Before You Create a Staging Site
A little preparation can save time later. Before creating the copy, check a few things about your current website.
Check your available hosting resources. A staging copy needs storage space and server resources. If your website contains large media files or a substantial database, make sure your hosting plan has enough room.
Update your live website’s backup. Create a fresh backup of both the WordPress files and database. If something goes wrong during staging or deployment, you will have a recovery point.
Check which website you are working on. Make a note of your live website’s URL and the staging address once it has been created. This helps prevent accidental changes to the wrong environment.
Consider private information. A staging copy may contain customer details, user accounts, order records, and other information from your live website. Restrict access to the staging environment, especially if other people can visit it.
If your website runs WooCommerce, pay particular attention to orders, payment settings, customer emails, and external services. You do not want test activity to affect real customers.
Method 1: Create a Staging Site Through Your Hosting Provider
For many website owners, the hosting dashboard is the easiest place to start. Several WordPress hosting providers offer a staging feature that creates a copy of an existing website.
The exact controls depend on your host, so the names and arrangement of the options may differ.
Step 1: Sign In to Your Hosting Account
Open your hosting provider’s website and sign in to the account where your WordPress installation is managed.
Find the website you want to copy. Look for an option named Staging, Staging Environment, or something similar.
Some hosting companies place this option inside the WordPress management area, while others include it under website tools or advanced settings.
If you cannot find it, check your hosting provider’s documentation. Not every hosting plan includes staging functionality.
Step 2: Start the Staging Process
Once you find the staging section, select the option to create a new staging environment.
Your hosting provider may ask you to choose a staging name or address. For example, it could create an address such as:
staging.example.com
The actual address will depend on your domain and hosting configuration.
Before continuing, read any message explaining what will be copied. The process should create a separate version of your website rather than replacing the live installation.
Start the process and allow the hosting system to finish copying the files and database. Large websites may take longer than smaller ones.
Step 3: Open the Staging Website
When the copy is ready, your hosting dashboard should display a link to the staging website or its WordPress administration area.
Open the staging dashboard and check that the correct website has been copied.
Look at a few important areas:
- The homepage and main navigation
- Several existing posts and pages
- Images and other media files
- Installed themes and plugins
- Important forms or interactive features
If something is missing, do not start making changes immediately. First, check whether the copying process completed successfully.
Step 4: Restrict Access to the Staging Environment
A staging website should not be treated like a public website.
Use your hosting provider’s password protection or access restriction feature if it is available. This is generally a stronger approach than relying only on WordPress search engine settings.
You can also open the staging WordPress dashboard and visit Settings → Reading. Look for the option labelled Discourage search engines from indexing this site and enable it.
This setting asks search engines not to index the staging website, but it does not prevent visitors from opening it. Use proper access protection as well.
Your staging copy is now ready for testing.
Method 2: Create a Staging Site Using the WP STAGING Plugin
If your hosting provider does not offer a staging tool, a WordPress plugin can be another option.
One commonly used option is WP STAGING. It can create a separate copy of a WordPress website from its administration dashboard. Available features depend on the plugin version and licence.
Step 1: Install WP STAGING
Sign in to the WordPress dashboard of your live website.
Go to Plugins → Add New Plugin and search for WP STAGING.
Check that you have selected the correct plugin, then click Install Now. When installation finishes, select Activate.
You should now be able to access the plugin from the WordPress administration menu.
Step 2: Start Creating a Copy
Open WP STAGING and find its option for creating a staging site. The wording may vary between plugin versions.
Give the new environment a name that you can recognise. For example, you could use test-site or staging.
Review the available settings before starting. Depending on your version, you may be able to select which database tables or files should be included.
For a normal website copy, the aim is to include the parts required for the site to work properly. If you are unsure which items to select, use the plugin’s recommended settings.
Step 3: Create the Staging Copy
Start the cloning process.
The plugin will copy the selected website files and database information into a separate environment. You can usually see the progress while the process is running.
Avoid closing the browser or interrupting the process unless the plugin instructs you to do so.
When it finishes, WP STAGING should provide a link to the new staging website. Open it and sign in using the access details or method provided by the plugin.
Step 4: Check That the Copy Works
Do not assume everything is working simply because the plugin reports that cloning is complete.
Open the staging website and check the homepage, navigation, images, and important pages. Sign in to its WordPress dashboard and make sure the administration area is accessible.
If you notice missing images, broken links, or unexpected redirects, investigate those issues before using the staging copy for testing.
Also remember that the free and paid versions may offer different cloning and deployment options. Check the plugin’s current documentation before relying on a particular feature.
What Should You Test on Your Staging Site?
Creating a staging environment is only the first part of the process. Its real value comes from the checks you perform before approving a change.
Instead of clicking around randomly, test the parts of your website that could be affected by the update.
Plugin and Theme Updates
Plugin and theme updates are common reasons to use staging.
Install the update on the staging website first. Then check the features connected to that plugin or theme.
For example, if you update a contact form plugin, submit a test form and check whether the submission is handled correctly. If you update a page builder, open pages that use its elements and review their layout.
A plugin can appear to work normally in the dashboard while causing problems on the front end. Check both areas.
Website Design and Mobile Layout
If you are changing the appearance of your website, review more than the homepage.
Open a few posts, product pages, category pages, and other important layouts. Look for overlapping text, missing images, unusual spacing, and navigation problems.
Check the website on a desktop, tablet, and mobile screen. A design that looks fine on a wide display may not work as expected on a smaller one.
Forms, Links, and Other Features
Test the features visitors use to interact with your website.
This might include:
- Contact and enquiry forms
- Search and navigation
- Login and registration
- Newsletter subscriptions
- Download buttons
- Search filters and interactive elements
Try the actions as an ordinary visitor would. A button being visible does not mean the feature behind it is working.
WooCommerce Functionality
An online store needs additional checks because changes can affect the shopping process.
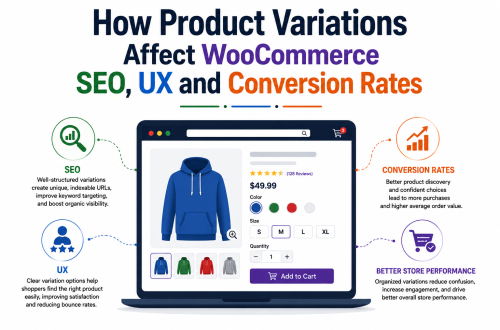
On staging, review product pages, variations, cart behaviour, checkout fields, shipping calculations, and customer account pages.
If you need to test payments, use the payment provider’s sandbox or test mode. Do not enter real customer payment details or assume that a staging checkout is isolated from live transactions.
Check email notifications and external integrations too. A staging store should not accidentally send order confirmations to real customers or trigger actions in connected business systems.
How to Move Approved Changes to Your Live Website
Once testing is complete, you can plan how to apply the changes to your live website.
This step deserves care. A staging site is usually created from a copy of your live website at a particular point in time. Meanwhile, your live website may continue receiving new posts, customer registrations, comments, or orders.
For that reason, copying the entire staging database back to the live website can overwrite information created after the staging copy was made.
This is particularly risky for an active WooCommerce store.
Decide What Actually Needs to Be Moved
Not every change requires a complete website deployment.
If you updated a plugin, you may only need to update that plugin on the live website after confirming the version works. If you changed a page’s layout, you may be able to reproduce that change directly on the live site.
For larger projects, a deployment tool may help transfer selected files or database changes. Check exactly what it will replace before approving the operation.
Take Another Backup
Before making changes to the live website, create another backup.
This should include the current files and database, not just the older backup created before staging.
The latest backup gives you a way to restore the website if the deployment causes an unexpected problem.
Choose a Suitable Time
If the change affects important website functionality, choose a quieter period when fewer visitors are likely to be using the site.
For an online store, consider whether customers might be placing orders during the deployment. Avoid unnecessary downtime and make sure that new orders and customer activity are protected.
Check the Live Website Afterwards
After applying the approved changes, open the live website and repeat the most important tests.
Check the homepage, affected pages, forms, navigation, and any features related to the update. If you operate a store, review the shopping and checkout process carefully.
Do not delete the staging environment immediately. Keeping it temporarily can help if you need to compare the two versions or investigate a problem.
Common Staging Problems and How to Fix Them
Even when the staging process completes successfully, a few issues can appear.
The staging website redirects to the live website. This can happen when the website’s URL settings or server configuration are not correct. Check the staging environment’s site address settings and consult your hosting provider’s instructions before changing URL values.
Some pages show a 404 error. If the homepage loads but individual pages do not, open the staging WordPress dashboard and go to Settings → Permalinks. Click Save Changes without changing the structure. This can refresh WordPress rewrite rules.
Images are missing. Check whether the media files were included in the staging copy. The uploads folder is normally located inside wp-content/uploads/. If files were not copied, you may need to repeat the copy or transfer the missing files.
A plugin does not behave as expected. Check whether the plugin requires a licence activation, an API connection, or a particular server configuration. Some services treat staging websites differently from live domains.
Test emails are reaching real people. Disable outgoing email or configure a safe email-testing service on staging. Also review connected services that may send notifications or trigger automated actions.
If the problem involves hosting configuration, database connections, or server-level settings, your hosting provider’s support team may be able to identify the cause more quickly.
A Few Habits That Make Staging More Useful
A staging environment works best when it becomes part of your regular website maintenance routine.
Create a fresh copy before testing a major update. An old staging website may not reflect the current content, plugins, settings, or database on your live installation.
Keep the staging environment private and clearly labelled. This reduces the chance of someone confusing it with the public website.
Test one group of changes at a time when possible. If you update several plugins, replace a theme, and change custom code together, finding the source of a problem becomes harder.
Finally, do not treat a successful staging test as a reason to stop checking the live website. Hosting environments, caching, integrations, and real visitor activity can produce differences between the two.
Frequently Asked Questions
It can be. Some hosting providers include staging tools in their plans, and plugins such as WP STAGING offer free functionality. Advanced features, hosting resources, or deployment options may require payment.
Yes. If your hosting provider offers a staging feature, you can usually create a copy through its control panel without installing an additional WordPress plugin.
A properly configured staging environment should be separate from your live website. However, problems can occur if both environments share external services, send real emails, or connect to live payment systems. Check these settings before testing.
No. A staging website is intended for private testing, not public search results. Enable the WordPress setting that discourages indexing and, more importantly, use password protection or another access restriction.
Create or refresh a staging copy whenever you plan to test a significant update, design change, new feature, or custom code adjustment. Refreshing it before a new testing session helps ensure that it reflects your current live website.
Final Thoughts
A WordPress staging site gives you room to check changes before they reach your visitors. You can test plugin updates, review design adjustments, and identify problems without making every experiment on your live website.
If your hosting provider includes staging, that is often a convenient place to begin. Otherwise, a suitable plugin can provide another way to create a separate copy.
The important part is not simply having a staging website. It is using it carefully: keep it private, test the features that matter, protect your latest live data, and choose a safe way to apply approved changes.
That small step can make routine WordPress maintenance much less stressful.